When you hire a professional drywall contractor to transform your space, what actually takes place from start to finish? Whether you’re a homeowner planning a renovation or a commercial property manager overseeing a fit-out, knowing what to expect during the installation and finishing of drywall can help you feel confident, informed and ready for what comes next.
At Pristine Drywall we specialise in high-quality drywall installation & finishing, textured ceiling repairs, and seamless surface finishing throughout Greater Vancouver. In this blog we’ll walk you through the entire process: from planning to board hanging to taping & finishing, all the way to final inspection and client satisfaction.
1. Pre-installation: Planning, Assessment & Preparation
Before a single panel of drywall is hung, a smooth and successful installation begins with careful preparation.
Site Inspection and Measurements
- A qualified technician arrives to inspect the space: measuring ceilings, walls, window and door openings, existing framing, insulation, and identifying any irregularities or repair requirements.
- If your project includes renovation, they will evaluate existing surfaces, check for moisture damage, mould, or structural shifts.
Choosing Materials and Specifying the Job
- Based on the inspection, the contractor will specify the correct drywall type (standard, moisture-resistant, fire-rated, sound-dampening) and thickness.
- They’ll coordinate with you about finish level (how smooth, textured or flat) and identify any special areas (for example, where a textured ceiling or popcorn surface must be matched or removed).
- If your project includes textured ceilings, our Textured Ceiling Installation and Repairs service is highly relevant.
Site Preparation
- Before board installation begins, the site is prepared: removing old finishes, protecting flooring and furnishings, ensuring ventilation, and securing jobsite safety and cleanliness.
- Any underlying issues (such as moisture leaks or uneven framing) are resolved to ensure a perfect foundation.
This preparation ensures a clean slate and reduces surprises once drywall work begins.
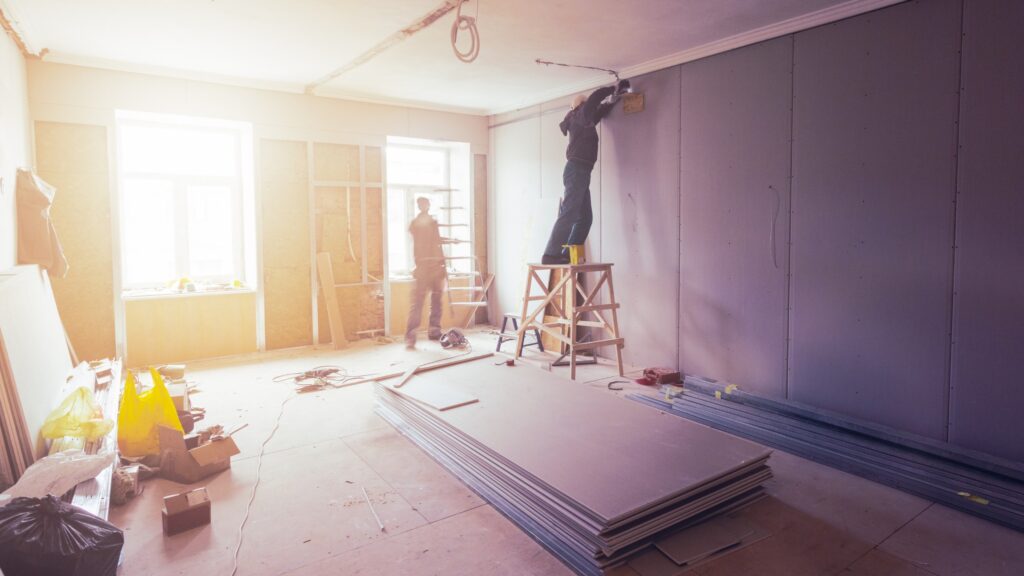
2. Board Hanging: The Core Structural Layer
Once the site is ready, the board hanging (sometimes called “sheetrocking”) begins.
Framing & Support
- Framing is adjusted or reinforced if needed to accommodate new layouts or openings.
- Proper spacing, screw depth, and alignment ensure long-term stability and prevent cracking.
Cutting, Fitting & Fastening Drywall Panels
- Panels are cut to size, fitted around windows, doors, and outlets, and screwed securely.
- Fasteners are installed precisely to prevent nail pops or loose boards later.
- Corners and ceilings receive extra attention, as they are the most visible areas.
Checking for Plumb & Alignment
- Professionals check alignment, corner angles, and flatness to guarantee an even surface.
- At Pristine Drywall we pride ourselves on meticulous board alignment — it’s the foundation of a flawless finish.
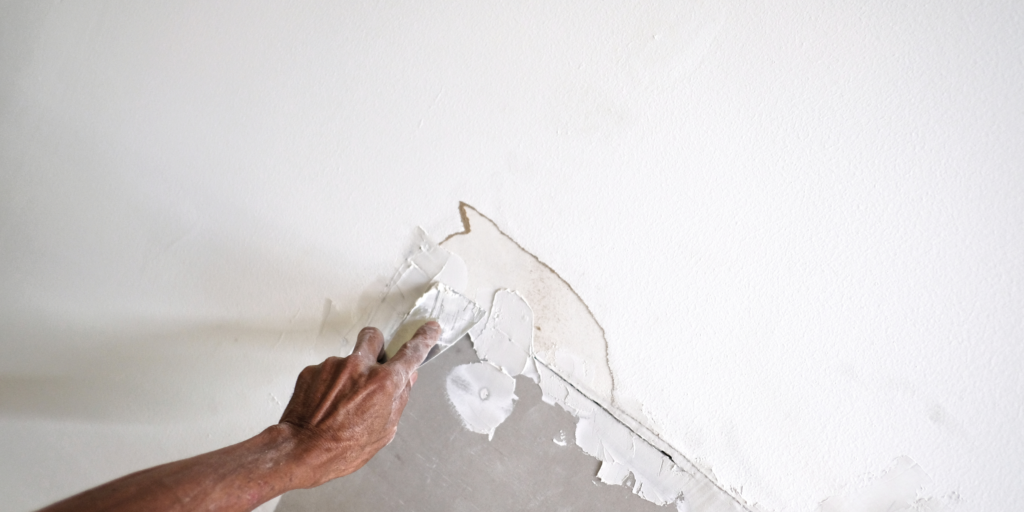
3. Taping & Joint Compound Application
After boards are installed, it’s time to hide seams and fasteners — the start of the finishing phase.
First Coat & Taping
- Tape (paper or mesh) is applied at every joint and embedded in joint compound (“mud”).
- Fastener heads are covered and the seams begin to disappear.
Additional Coats & Sanding
- Multiple coats of compound are applied, each wider and smoother than the last.
- Surfaces are sanded between coats for feathered edges and seamless transitions.
- For textured ceilings, we offer precision texture matching so repairs blend perfectly.
Final Sanding & Cleanup
- Final sanding ensures a smooth, paint-ready surface.
- Dust control and cleanup are managed to keep the site tidy and safe.
This is where your space begins to look professionally finished.
4. Texture & Finishing Touches
Once the seams are smooth, it’s time to apply the finishing details that define your space.
Texture Matching or New Texture
- Choose from flat, knockdown, orange-peel, or custom textures to achieve your desired look.
- If you have outdated popcorn ceilings, we provide complete Popcorn Ceiling Removal & Textured Ceiling upgrades.
Priming and Paint Preparation
- Surfaces are primed for paint or wallpaper, sealing the compound for uniform color absorption.
- This step also highlights any last imperfections, which are fixed before the final coat.
Trim, Junctions & Details
- Where drywall meets other materials (doors, windows, or baseboards), trimming and caulking are completed for clean edges.
- Commercial projects may include acoustic treatments or moisture barriers at this stage.
5. Quality Inspection & Client Walkthrough
A professional drywall job doesn’t end until every detail is checked.
Contractor Inspection
- We inspect for flatness, proper fastener coverage, seamless corners, and consistent texture.
- Any small imperfections are corrected before client review.
Client Walkthrough
- You walk through the space with our team to verify satisfaction.
- We explain maintenance tips and warranty details.
- Visit our Reviews to see what our clients say about our finishing quality.
Documentation & Warranty
- We provide a summary of materials, techniques, and warranties for your records.
- Commercial clients may also receive maintenance schedules or inspection guidelines.
6. Post-Installation Care & Maintenance
Your walls and ceilings are built to last, but some care extends their life.
Routine Checks
- Watch for cracks, nail pops, or signs of moisture — early detection prevents expensive repairs.
- Keep humidity balanced and fix any plumbing or roof leaks promptly.
Cleaning Tips
- Dust textured ceilings with a soft brush attachment.
- Wipe smooth walls with a microfiber cloth; avoid harsh chemicals.
When to Refinish or Replace
- If the surface shows sagging, stains, or repeated cracking, replacement might be wiser than constant patching.
- Learn more on our Drywall Repair Services.
For deeper insights on drywall care, you can read this Home Depot Canada article on Installing & Finishing Drywall
Why Choosing the Right Contractor Matters
Drywall might look simple, but true quality comes from craftsmanship.
With the right contractor, you get:
- Proper materials for your environment (moisture & fire-resistant boards).
- Seamless taping, sanding, and finishing work.
- Clean, safe, and efficient job sites.
- Long-lasting results that stand the test of time.
At Pristine Drywall, our focus is on precision and customer satisfaction. Learn more about our commitment on our About Us.
Frequently Asked Questions
1. How long does a drywall installation project take?
For an average home, the process usually takes 3 to 5 days, depending on room size, drying times between coats, and complexity. Large commercial jobs may take longer.
2. Can drywall installation be done in winter?
Yes as long as temperature and humidity are controlled. Professionals use heaters and ventilation to ensure proper drying in cooler months.
3. What is the difference between drywall installation and drywall finishing?
Installation refers to hanging drywall boards. Finishing involves taping, mudding, sanding, and texturing to achieve a paint-ready surface.
4. How many coats of joint compound are applied?
Typically three: a base coat for tape, a second for coverage, and a third for finishing and feathering the seams.
5. What are common textures used in Vancouver homes?
Most homeowners choose flat, orange peel, or knockdown textures, while older homes may still feature popcorn ceilings (which we remove and refinish).
6. Can I paint directly on new drywall?
No. New drywall must be primed first to seal the surface and prevent uneven paint absorption.
7. How can I tell if I need new drywall instead of patching?
If the drywall is water-damaged, soft, or shows deep cracks, replacement is the better long-term solution.
Final Thoughts
Drywall installation and finishing is a precise, multi-stage process — from planning to final sanding — that transforms your structure into a polished, durable interior.
Whether you’re building new, renovating, or updating old textures, Pristine Drywall provides reliable service across Vancouver and the Lower Mainland.
Request a free quote today, and let’s bring your project to life with walls and ceilings that look pristine and last for years to come.